

“I don’t quite know” is a new podcast that Reckoner is extremely proud of and something we’ve wanted to for quite some time now. It’s designed to be a conversation between its host, Raj Deut, and an online personality that you’ll most likely already know.
As to what they discuss, well that’s where the name of the show comes into place because we don’t quite know. The idea being they chat about something our guest isn’t particularly known for and not what work they’re doing at the time the show is recorded but it still relevant and interesting to the listener.
New episodes are scheduled to be released monthly exclusive to supporters of our Patreon campaign, with some then re-released at a later date supported by partners to the general public.
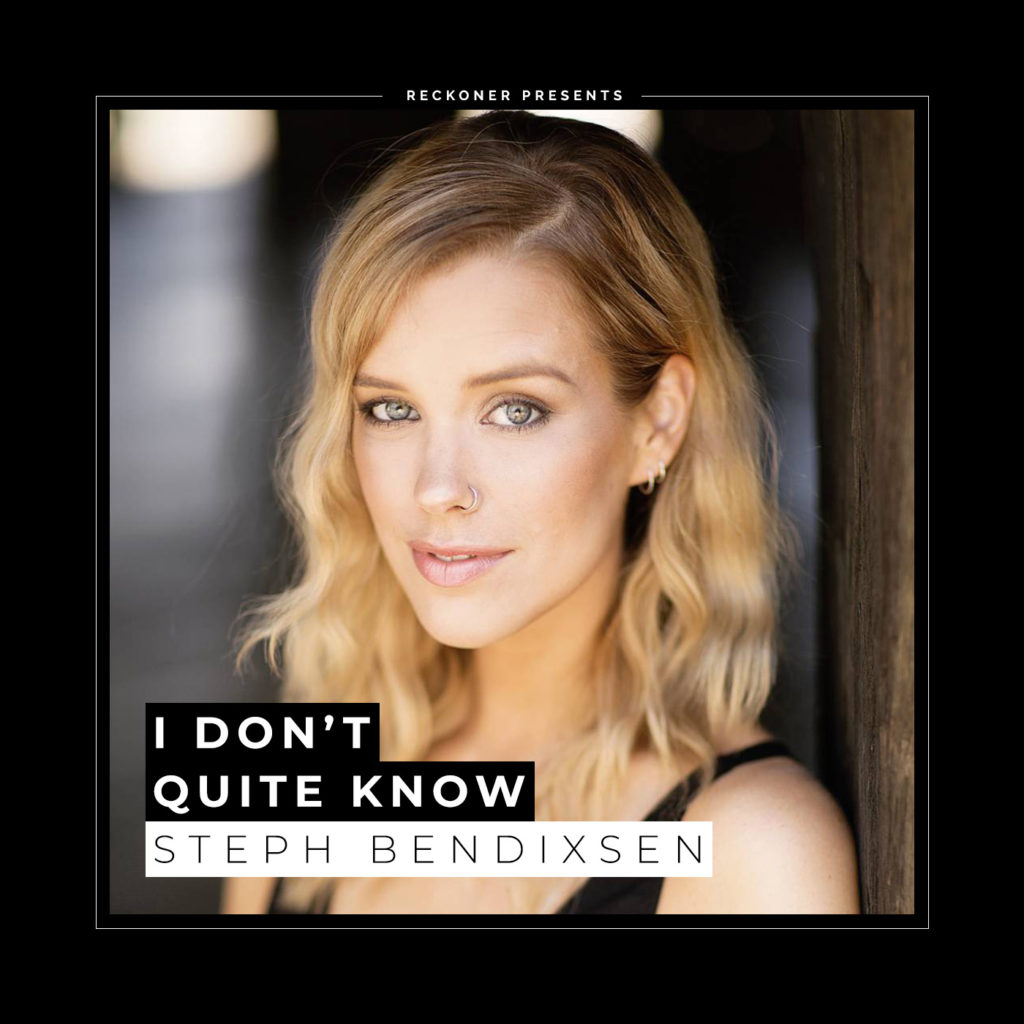
Ep 1: Stephanie “Hex” Bendixsen
Recorded Date: April 23rd, 2018
Topic: Anxiety & content creation
Length: 45 minutes
Availability: Full for public
Best known for her presenter roles on ABC’s “Good Game” and more recently Channel 7’s “Screen Play”, Steph is one of Australia’s foremost authorities on all things video games.
Having worked in television for over a decade now she knows all to well the realities and complexities of working in television both on set and off. We talk to her about dealing with those realities, the anxiety of content creation and the mental side of being a public figure in the gaming world and how she deals with that day to day.
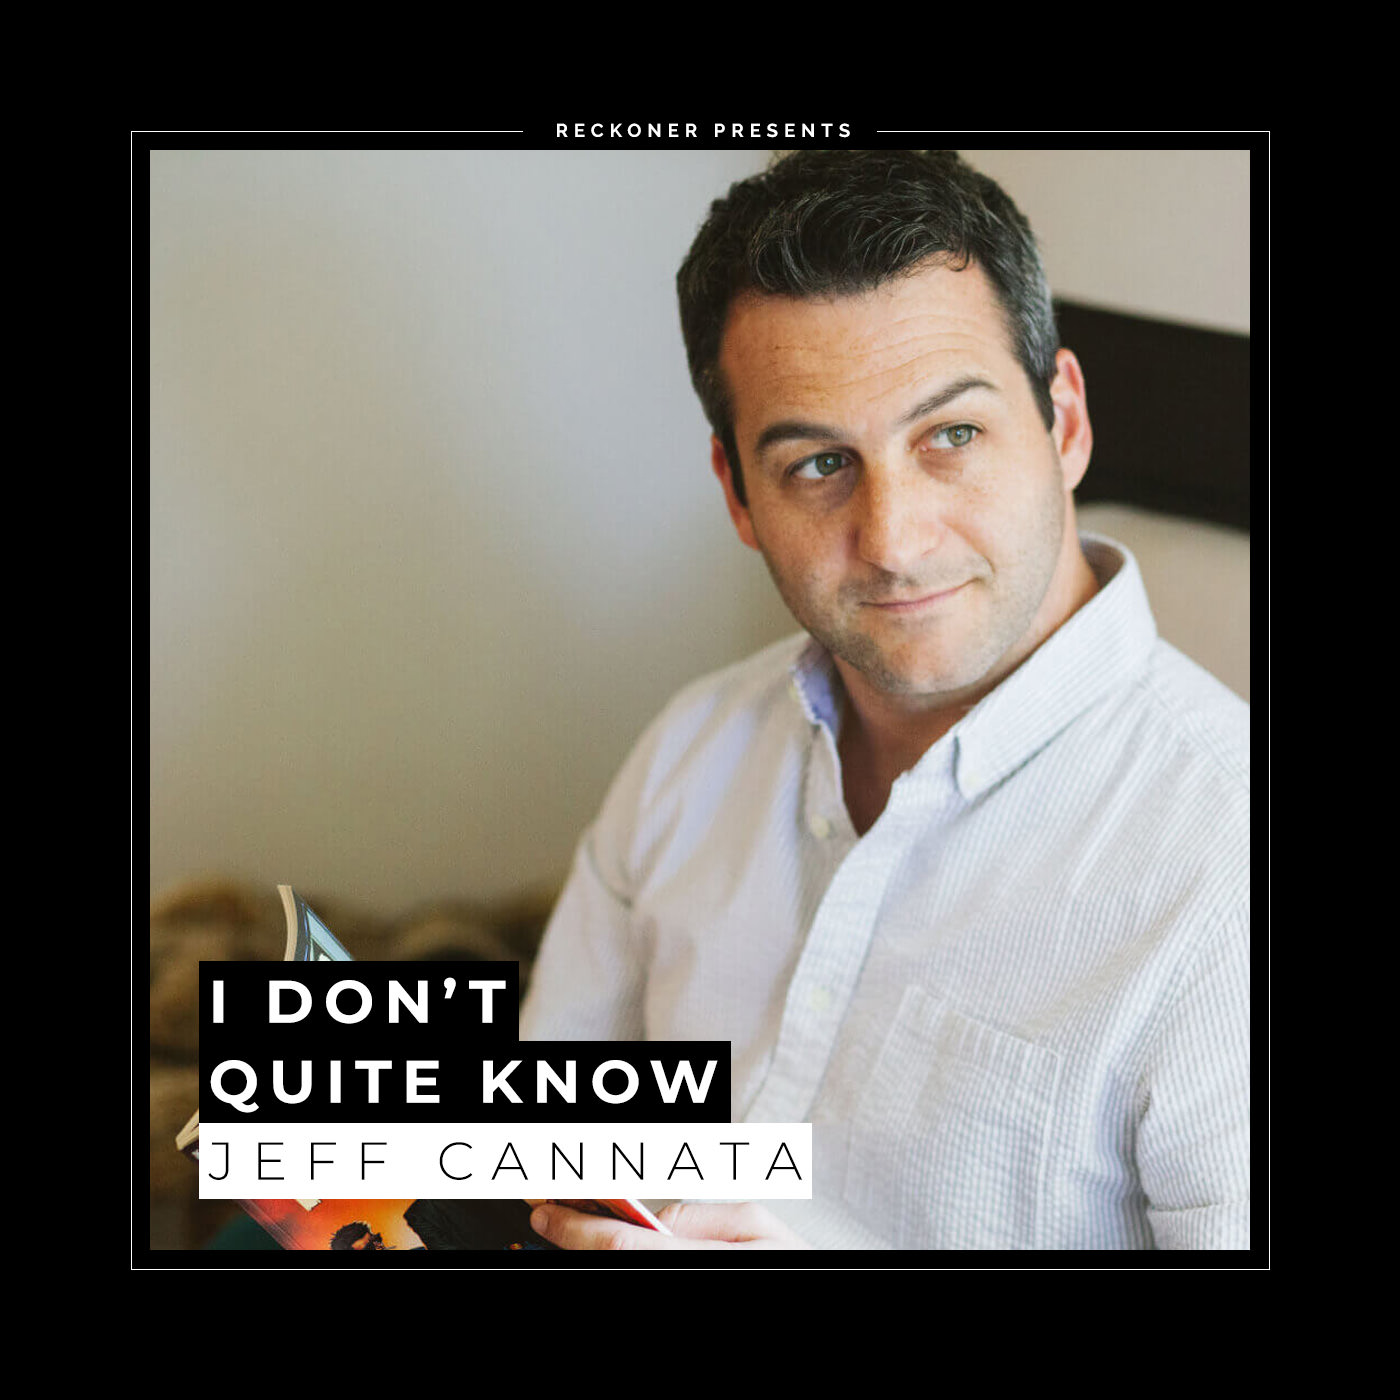
Ep 2: Jeff Cannata
Recorded Date: June 30th, 2018
Topic: Online dating & the Aussie proposal
Length: 50 minutes
Availability: Full for public
Professionally Jeff Cannata is a man synonymous with video games. A founding member of the ground breaking “Totally Rad Show”, co-host of “Weekend Confirmed” and currently heading up 5by5’s “DLC” podcast his infectious passion for gaming has been gracing our podcast feeds for over a decade.
Privately Jeff’s a dedicated, loving, family man but that wasn’t always the case. There was a wild side (or at least he fantasised of one) before somewhat accidentally meeting the love of his life whilst exploring the world of online dating. We talk through some of those experiences, what it was like to date online and how he somehow involved me in the process of proposing to his now wife.
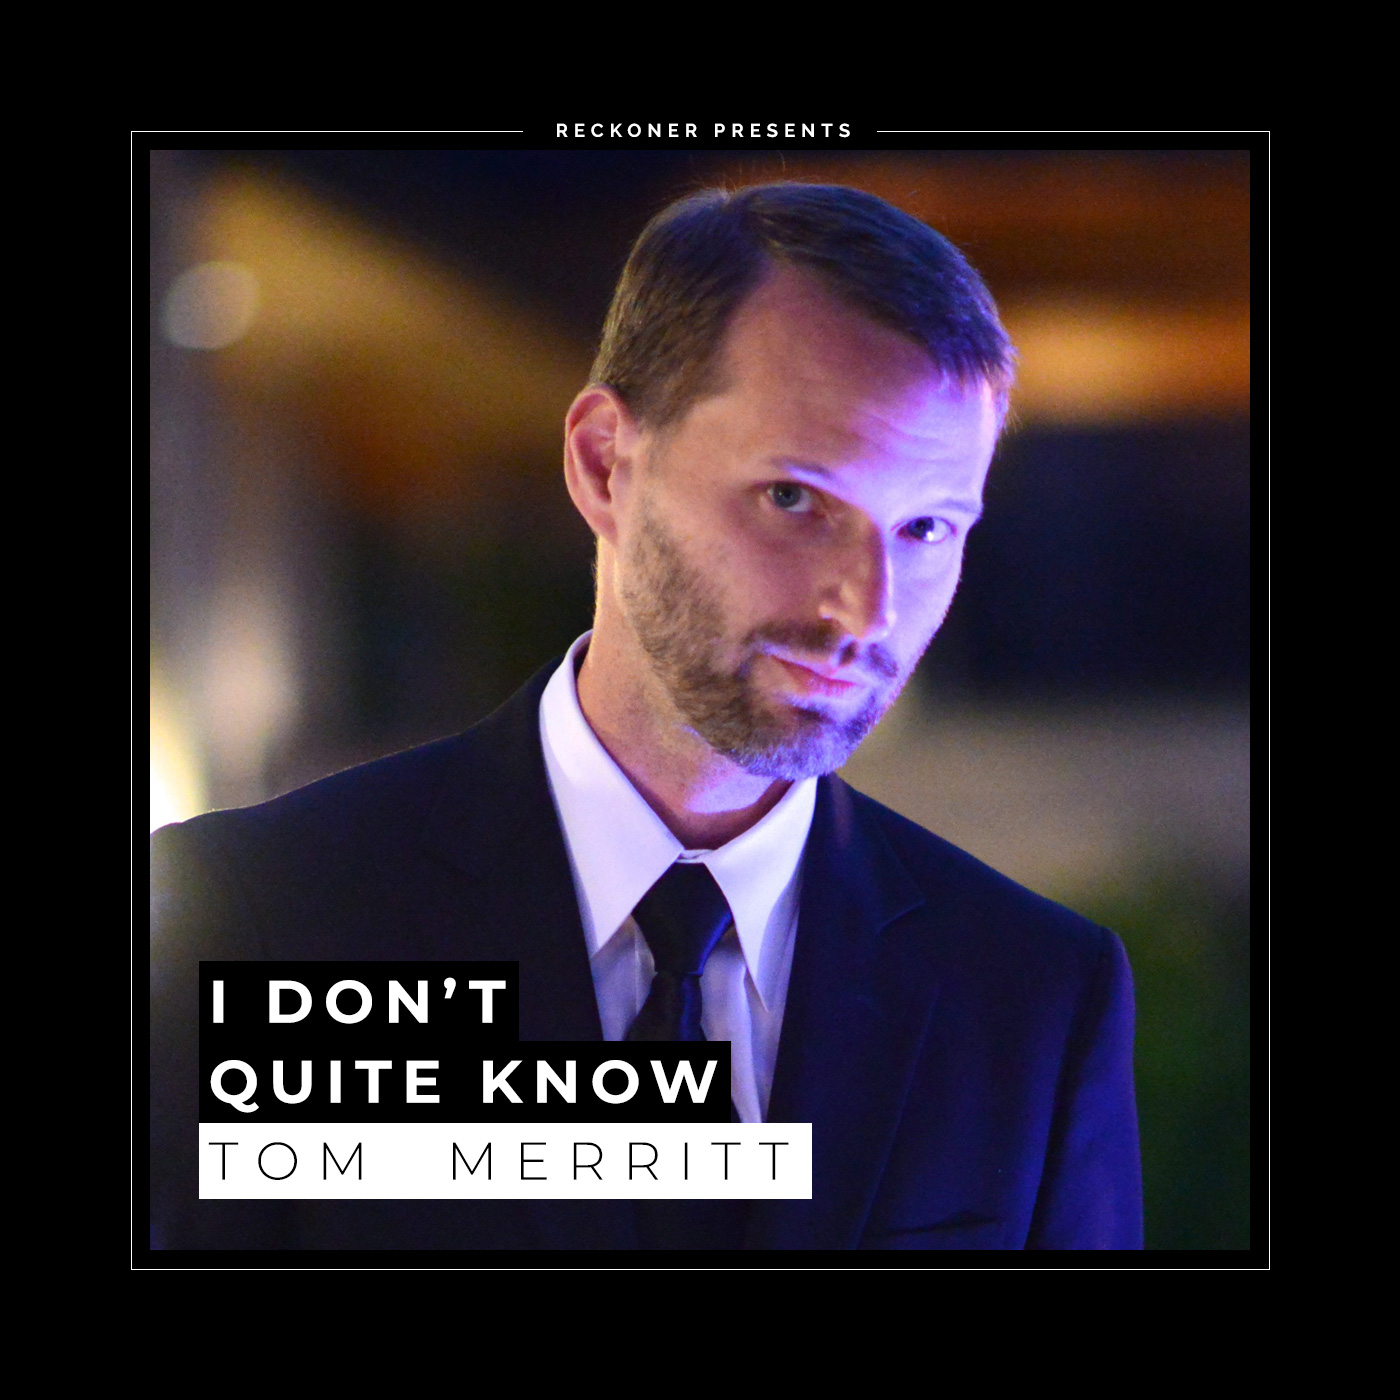
Ep 3: Tom Merritt
Recorded Date: October 19th, 2018
Topic: Creative writing & publishing
Length: 45 minutes
Availability: Patreon supporters only
Tom Merritt could easily be mistaken as the godfather of podcasting. His long-running Cnet show “Buzz out Loud” was one of the first true success stories of the burgeoning medium and has led to Tom’s creation and involvement in dozens since.
Today he produces & hosts one of the most successful crowdfunded series on the internet,”The Daily Tech News Show”, but behind the scenes he’s quietly becoming one of our generation’s most revered science fiction authors. Join us as we chat about Tom’s passion for creative writing, his process and how he possibly borrows one of his character’s time-travelling spaceships to fit everything in a single day!